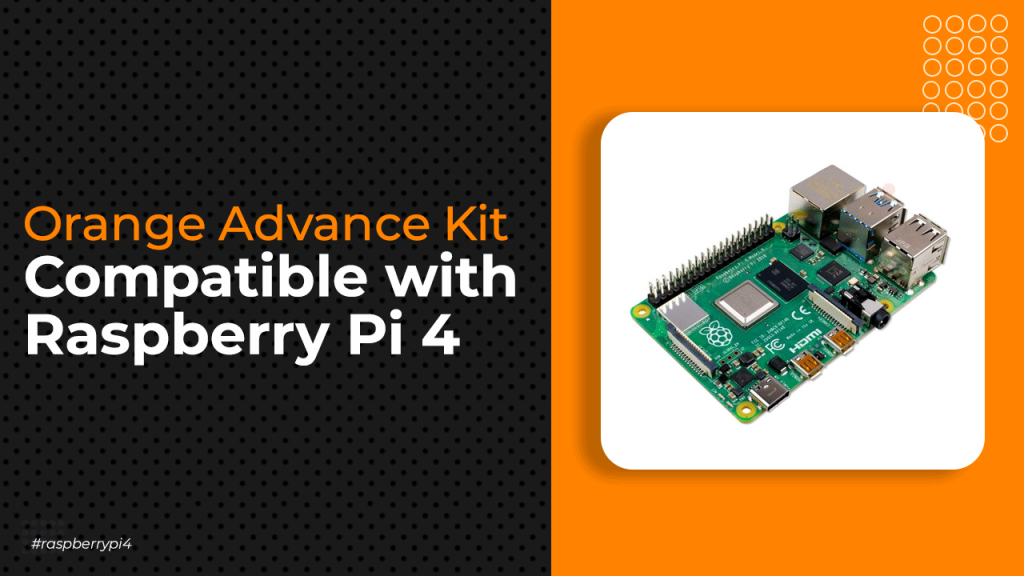
If you want to learn about the Raspberry Pi and are interested in the Python programming language, then this orange Raspberry Pi Kits is for you.
You will not only learn advanced Raspberry Pi components with this kit, but you will also gain a solid understanding of the Python programming language.
This kit includes a variety of components that will help you learn Raspberry Pi programming more effectively.
There are a few other similar kits on our website; however, if you are completely new to the Raspberry Pi section, we recommend that you start your Raspberry Pi learning journey with the kits listed below.
Other Raspberry Pi Kits
So that was an introduction to the orange Raspberry Pi Advance Kit; in the following section of this blog, we will learn about interfacing the orange Raspberry Pi kit’s components with the Raspberry Pi.
Orange Raspberry Pi Blogs
Table of Contents
ToggleUltrasonic Sensor With The Raspberry Pi
As you may know, ultrasonic sensors are used to measure distance. Ultrasonic sensors are widely used in obstacle detection robots and do-it-yourself radar projects.
Similar sensors, such as infrared sensors, LIDAR sensors, and sonar sensors, are available on the market and can be used for similar purposes, but we will not go into detail about them in this article. I’ll discuss them in future articles.
So that was the basic overview of the ultrasonic sensor. In the following section, we will learn how to connect the ultrasonic sensor to the Raspberry Pi.
How Does The Ultrasonic Sensor Work?
As we all are a member of the DIY community, I’m sure you’re familiar with how an ultrasonic sensor works. If you already know about it, you can skip ahead to the coding section of this blog. However, if you are new to this, you can continue with this section.
The Ultrasonic sensor work is similar to Radar sensor work. The transmitter in radar generates radio waves (sound waves), an electromagnetic wave that travels through the air and returns when it encounters an object in its path. The distance is then calculated using a basic high school formula, which is provided below.
Distance = Time x Speed
Time = The amount of time it takes for the sound wave to reach the receiver.
Speed = The sound wave’s speed.
Notable Things –
The speed of sound changes as the temperature and humidity change.
The speed of sound, on the other hand, is 4.3 times faster in water than in air.
How To Interface The Raspberry Pi Module With The Raspberry Pi?
Ultrasonic sensors, as previously discussed, have a transmitter (Trigger) that can transmit infrared sound waves and a receiver that receives reflected sound waves (ECHO pin).
It also has power pins, VCC and GND. The image below depicts the ultrasonic sensor’s pinout and its interfacing with the Raspberry Pi.
In the next part next part, we will talk about the programming the ultrasonic sensor.
How To Program The Ultrasonic Sensor?
I tried to broaden every line of code in this section, but if I missed something, please let me know.
The first line of code begins by importing modules that can be used to work with the Raspberry Pi’s GPIO pins.
RPi.GPIO – This is a Python module designed specifically for the Raspberry Pi. This module facilitates communication with the Raspberry PI’s GPIO pins.
Time – We’re using the Time Module to add a delay between transmitting and receiving infrared sound waves.
The GPIO SetMode is used to define the numbering scheme that is used to work on the Raspberry Pi GPIO, and there are two ways to do so: GPIO.board and GPIO.BCM.
GPIo.Board – Use the GPIO.setmode (GPIO.board) method to refer to the pin with the number indicated in the circle.
BCM stands for Broadcom chip-specific number and is used in GPIO.setmode(GPIO.BCM).
You can use GPIO.SetMode to refer to a pin number that represents a rectangle (GPIO.BCM).
GPIO ECHO = Raspberry Pi pin number
GPIO TRIG = Raspberry Pi pin number
These lines of code are used to set up the PINs, which will be used to connect the ultrasonic sensor.
If you’ve ever worked with an Arduino board, you’re probably familiar with the pinMode function; this line of code accomplishes the same thing.
We can use this line of code to set the Raspberry Pi’s pins as INPUTS or OUTPUTS.
[“source=robu”]
| M | T | W | T | F | S | S |
|---|---|---|---|---|---|---|
| 1 | 2 | 3 | 4 | 5 | 6 | 7 |
| 8 | 9 | 10 | 11 | 12 | 13 | 14 |
| 15 | 16 | 17 | 18 | 19 | 20 | 21 |
| 22 | 23 | 24 | 25 | 26 | 27 | 28 |
| 29 | 30 | |||||


